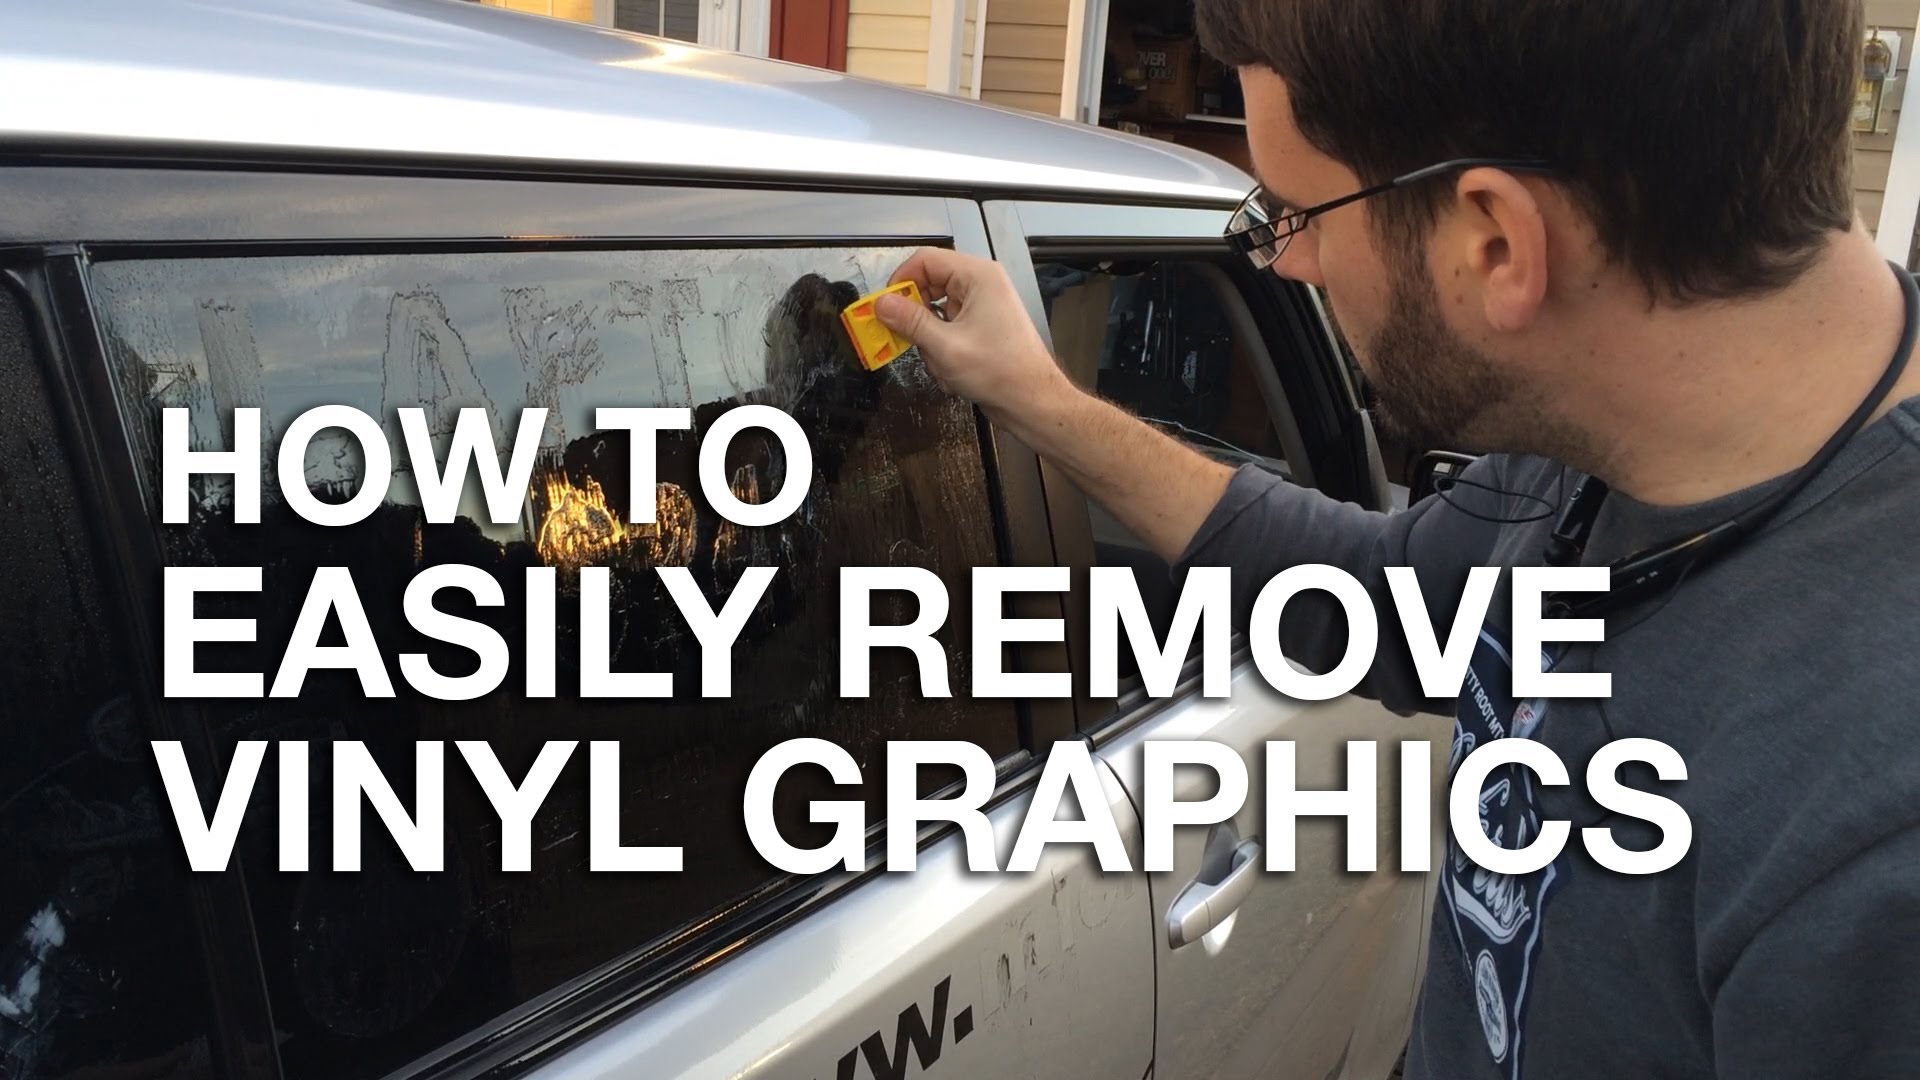
Vehicle wraps and signage removal can be very time consuming and you can damage the paint if you don't know what your doing!

There are many reasons why you might decide to remove signs, pinstrips and decals. The existing decals may not have been properly maintained and look worn or faded, they
could be a style or color that you don’t care for, or you may want to replace them with your own personalized decals. Whatever the reason, there are many routes you can take to remove those unwanted decals! Here is what we have found to work best for us when removing decals from your Car, Boat, Bus or RV’s exterior.

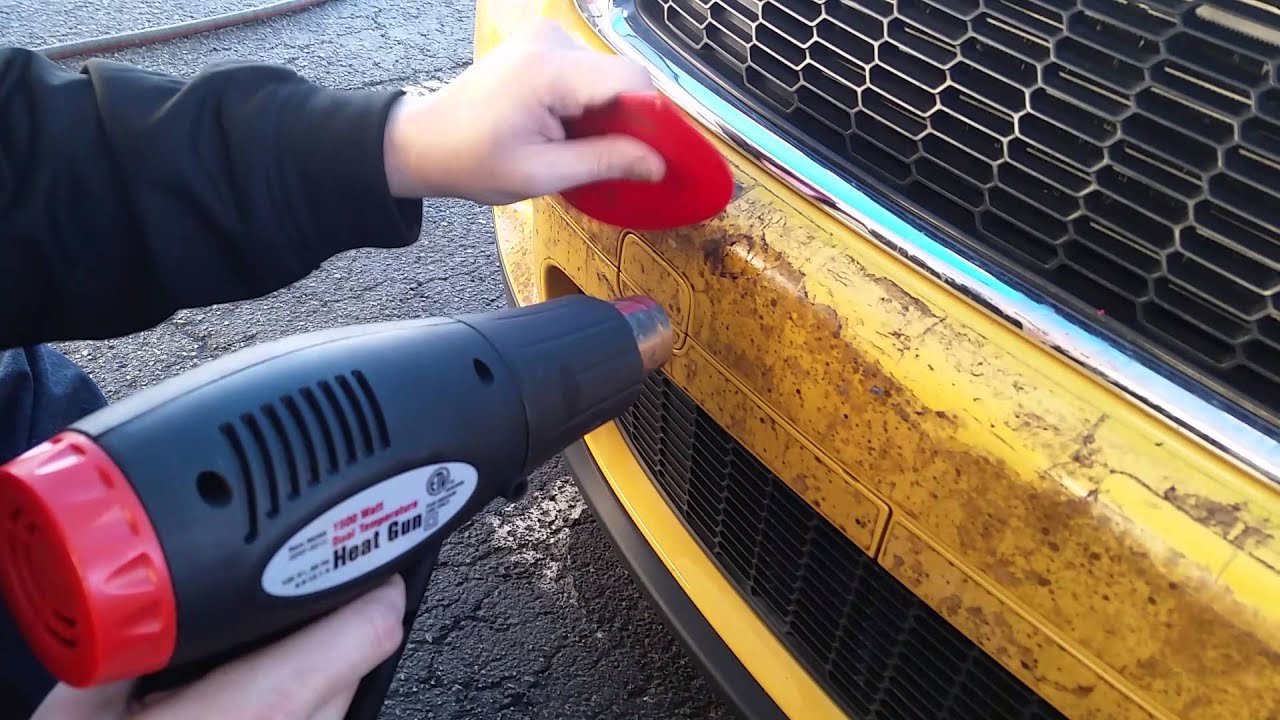
Stripping ute signs can be very slow and time consuming if you don't know how! What you need is our vinyl stripping wheels!

There are many reasons why you might decide to remove signs, pin strips and decals. The existing decals may not have been properly maintained and look worn or faded, they could be a style or color that you don’t care for, or you may want to replace them with your own personalized decals.

Whatever the reason, there are many routes you can take to remove those unwanted decals! Here is what we have found to work best for us when removing decals from your Car, Boat, Bus or RV’s exterior.
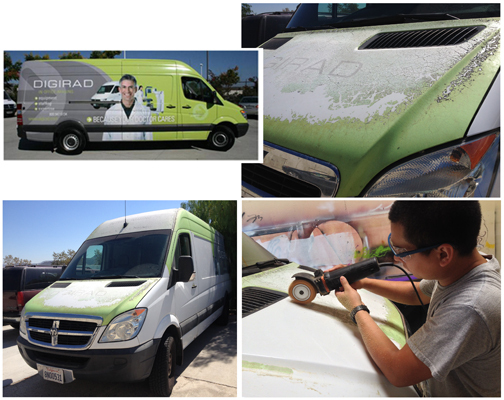
This is a question that we hear the most with every client that inquires about car or van wrap and signage stripping?

Are vehicle wraps easy to remove? The answer is: YES if you know what your doing!

STEP 1: Warm Up The Decal Adhesive.

Everyone that removes decals seems to agree that HEAT is the best way to get started. People have tried different methods for applying the heat, and all of these have been proven to work! You can use a variety of different tools, we recommend you us the following heat source. Hair dryer, Steamer, Heat gun or Direct sunlight.

Applying heat to the decal anywhere from a few seconds to a few minutes (depending on the air temperature) warms it up enough to be removed more easily. Parking the RV so that the decals are in direct sunlight for a few hours will make your job much easier. The warmer the air is when you try this project, the easier it is to peel!

STEP 2: Start Peeling The Decals.

There are several tools that can assist in removing the decals. Sometimes your fingernail is all you need to get the peeling started. Other options include, Putty knife, Razor (use carefully so you don’t scratch your RV!) or a Credit card.

Depending on decal size, age, and air temperature, this might be a slow process. Your decal might peel off in very small strips, or it might peel off completely with one peel.

STEP 3: Remove The Old Glue.

You will need paper towels and gloves for this next step. After the decals have been removed, you will most likely have some glue that is left behind on the RV. There are several products you can use to help with the adhesive removal. Goof Off, Rapid Remover Adhesive Remover, Goo Gone, 3M General Purpose Adhesive Remover

Simply apply the cleaning product onto the glue as instructed (with a paper towel or spray directly onto the RV), and let it sit on the surface for a few minutes. Using one of the scraping tools from the previous step, scrape the remaining glue off.

Your putty knife, razor or credit card should easily scrape off the adhesive after the cleaner has been applied.

STEP 4: Remove Any Oxidation

After the glue is gone, you may still have some “ghosting” where the decals used to be. These ghosts are caused by the oxidation discoloring the area around the decals. You’ll have to remove the oxidation on the vehicle’s surface to match the color beneath the vinyl that has been protecting its surface area from oxidation.

A heavy-duty oxidation remover, such as Meguiar’s Marine/RV Heavy Duty Oxidation Remover, is what you need for this final step! This product will restore weather-exposed surfaces, reducing ghost images from vehicle surfaces covered by graphics. Work a section at a time using a small amount of product on a 100% cotton terry cloth towel. Rub thoroughly into the surface with moderate pressure. Immediately wipe with a separate cotton terry towel. Do not let the product dry on the surface.

Your RV is now rid of the unwanted decals and you can enjoy the blank surface or apply new decals!

STEP 5: The graphic is baked on and not matter how much heat or scrapping i apply it will not come off!

Attach your vinyl decal stripping wheel to your cordless dril and work the wheel backwards and forwards over the edge of the graphic slowly and you will see the graphic lift off the surface. For beet results apply a little bit of heat to the area of graphic you are stripping.

As you move along the graphic take time to apply a little more heat and then repeat the process until the graphic has been fully removed. Be care full not to hold the wheel in one spot for too long, keep moving it back wards and forwards across the graphic.

Once you have removed the graphic you may need to polish or clean the surface with a solvent to remove any glue or wheel debride.

STEP 6: Nothing i have done is working!

I would recommend that you contact us and see if we can help you with the removal of the graphic. Or you can purchase a stripping wheel and give it a go yourself..

Want to give it a go yourself?

Purchase one of our easy to use stripping wheels which you can attach to all most any power drill. This will not damage your paint, not recommended for stripping graphics off plastic bumpers or handles.

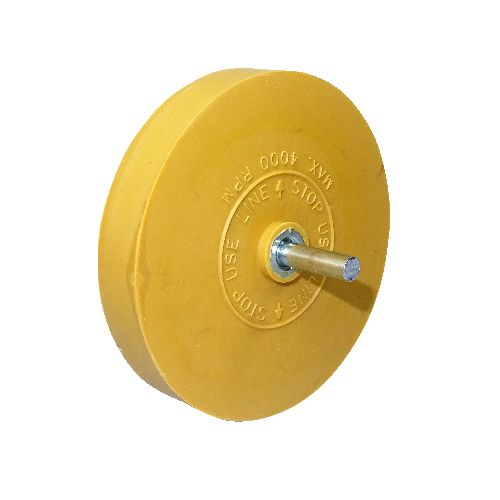
Eraser Wheel with plain spindle

Eraser wheels are also known as Caramel wheels or decal removal wheels. They provide a quick and effective means of removing vinyl graphics, decals, tape, pinstripes, etc from vehicle bodywork. Using light pressure will ensure clean removal from the paintwork.

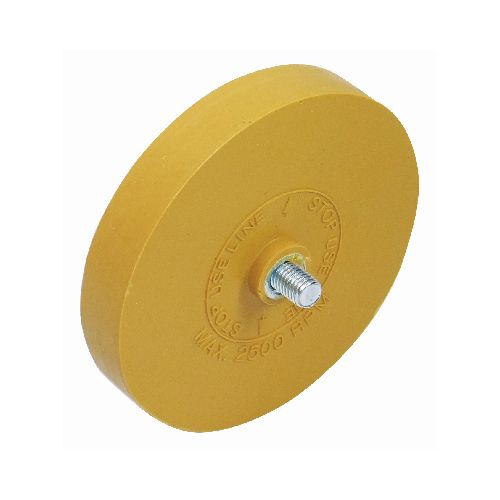
Eraser Wheel with threaded spindle

Eraser wheels are also known as Caramel wheels or decal removal wheels. They provide a quick and effective means of removing vinyl graphics, decals, tape, pinstripes, etc from vehicle bodywork. Using light pressure will ensure clean removal from the paintwork.

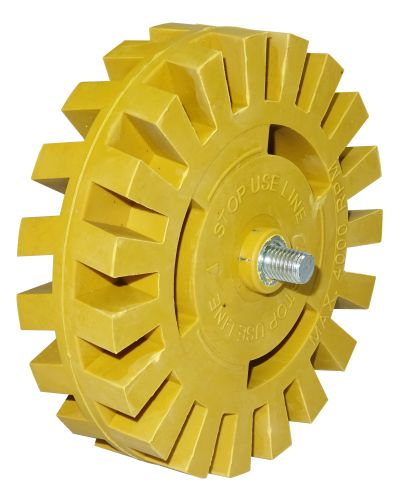
Eraser Wheel Notched

Eraser wheels are also known as Caramel wheels or decal removal wheels. They provide a quick and effective means of removing vinyl graphics, decals, tape, pinstripes, etc from vehicle bodywork. Using light pressure will ensure clean removal from the paintwork.

Get in conatct with us today

So you didnt find what you where looking for or you are looking for something custom made. So why not drop us a message and we will see if we can help you.

ABOUT SIGN CENTRE

Sign Centre is a New Zealand family owned and operated sign and print shop specialising in sign and printing. Based the sunny Bay Of Plenty servicing the local Tauranga and Mount Maunganui area as well as NZ wide. We also manufacture custom signage products for the sign industry. Please feel free to get in touch, we would love to hear from you!

We are always looking for creative people, so drop us your CV and let go from there.

CONTACT SIGN CENTRE

SIGN | PRINT | DESIGN | INSTALL

94 Newton Street, Mount Maunganui.

Call us 07 57 57 500

sales@signcentre.co.nz